The Ultimate Guide to Dead Tree Removal
Dead tree removal isn’t just about improving the aesthetics of your yard—it’s about protecting your property, preserving your landscape’s health, and ensuring safety. This detailed guide covers everything you need to know about identifying, assessing, and removing dead trees effectively.
Why Is Dead Tree Removal Important?
Dead trees pose serious risks to safety, property, and the surrounding environment. Here’s why acting promptly is crucial:
The Safety Hazards of Dead Trees
Dead trees are structurally unstable. Their branches and trunks can fall unpredictably, damaging nearby structures, vehicles, or even injuring people.
• Falling Branches: As a tree decays, its branches become weak and can snap during storms, posing a direct threat to anyone nearby.
• Whole Tree Collapse: A dead tree’s weakened root system makes it vulnerable to tipping over, especially in high winds or after heavy rains.
Attraction of Pests and Diseases
Decaying wood serves as a welcome mat for pests such as termites, carpenter ants, and beetles. Once infested, these pests can spread to other structures, including your home. Moreover, fungal diseases thriving on dead trees can infect neighboring healthy vegetation.
Environmental Impact
While decaying wood has some natural benefits for soil health, leaving a dead tree unattended can disrupt your yard’s ecosystem. Fungi, mold, and bacteria may overpopulate, creating imbalances that harm surrounding plants.
How to Identify a Dead Tree
Knowing when a tree is truly dead can save time and effort. Here’s how to recognize the signs:
Visual Indicators of a Dead Tree
• Lack of Leaves: If your tree hasn’t sprouted leaves in spring or has lost them all prematurely, it’s a red flag.
• Cracked or Peeling Bark: Dead trees often exhibit bark that peels away easily or develops deep cracks.
• Discoloration or Fungus Growth: Large amounts of fungus growing on the base or trunk are strong indicators of decay.
Physical Tests for Confirmation
• The Scratch Test: Gently scrape off a small patch of bark. Green underneath means the tree is alive, while brown indicates decay.
• Flexible vs. Fragile: Healthy branches can bend a little without snapping, while dead ones break easily under stress.
Deciding Between DIY and Hiring a Professional.
DIY Tree Removal
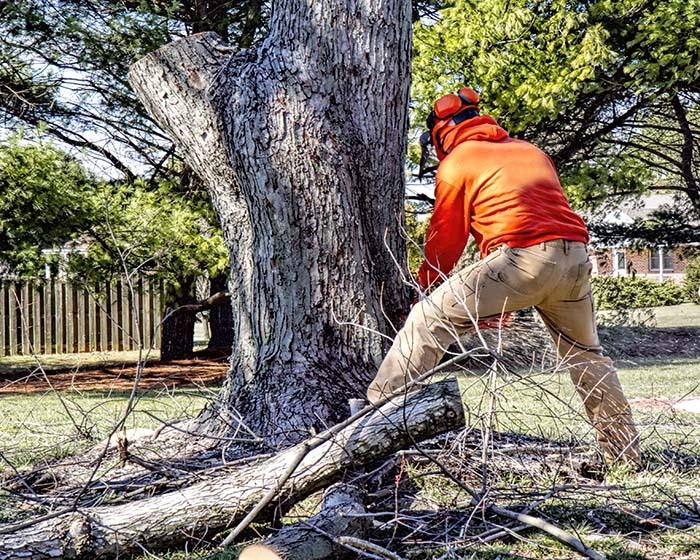
If the tree is small, not near power lines, and far from structures, you may handle it yourself. Make sure to equip yourself with proper tools and appropriate safety gear at all times.

Professional Tree Removal
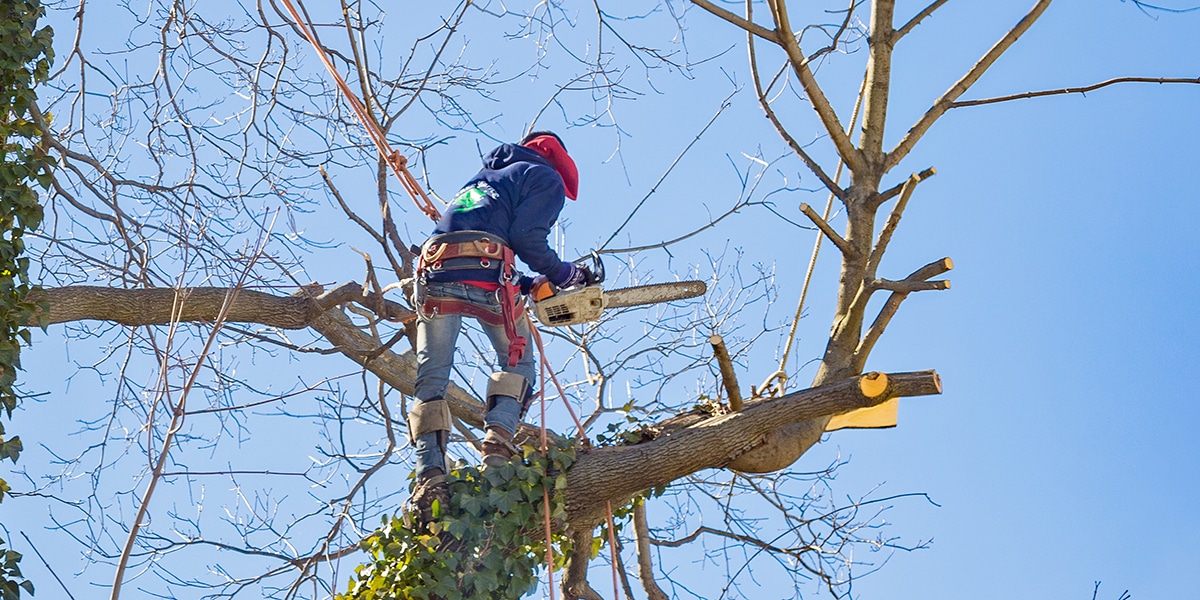
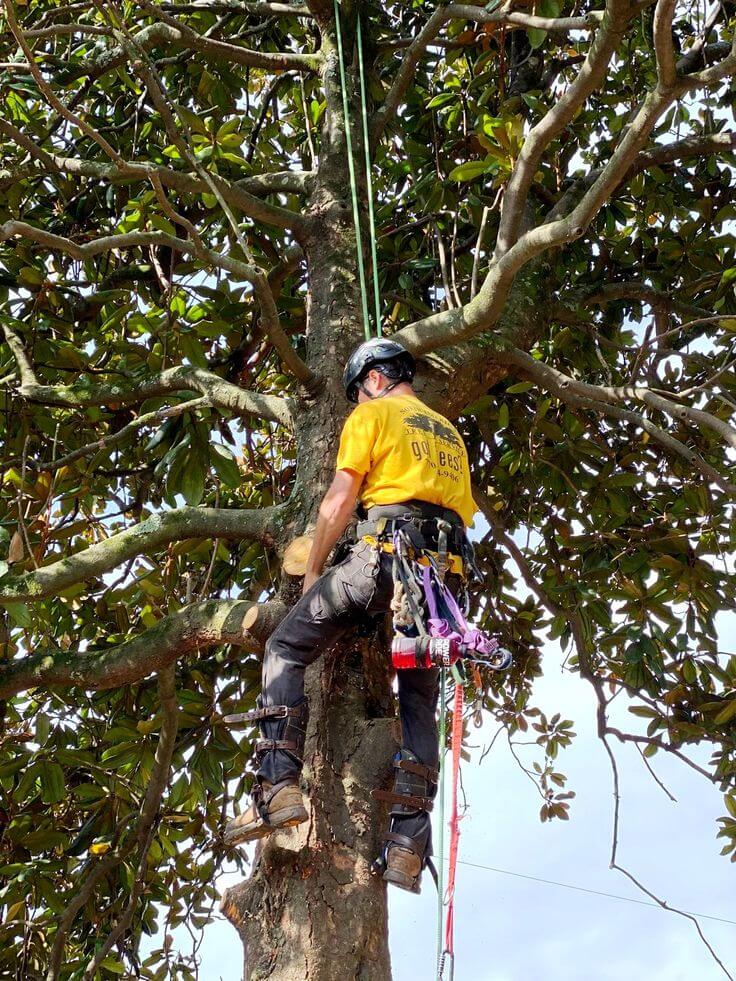
Large or precariously located trees require professional intervention. Professional arborists possess the expertise, tools, and coverage necessary to handle challenging tree removals with safety and precision.
Tools You Need for Dead Tree Removal
Essential Tools for Small Trees
• Pruning Shears and Hand Saws: Useful for removing smaller branches.
• Loppers: Ideal for cutting medium-sized limbs.
• Rope and Pulley Systems: To guide the tree’s fall direction.
Advanced Equipment for Large Trees
• Chainsaws: A must for cutting thick trunks.
• Winches and Cranes: For managing massive or awkwardly placed trees.
• Wood Chippers: To convert tree debris into mulch.
Safety Gear Checklist
1. Helmet with a face shield.
2. Sturdy gloves and non-slip boots.
3. Ear protection for loud equipment.
4. Safety goggles to shield eyes from debris.
Step-by-Step Guide to Removing a Dead Tree
Follow these steps for safe and effective tree removal:
Step 1: Prepare the Area
1. Remove any items or obstacles around the tree.
2. Inform nearby neighbors if the tree is close to property boundaries.
3. Ensure no one enters the work zone during removal.
Step 2: Plan the Tree’s Fall
1. Identify the safest direction for the tree to fall, avoiding structures, power lines, and other trees.
2. Tie ropes to the tree trunk to help guide its descent.
Step 3: Make the Cuts
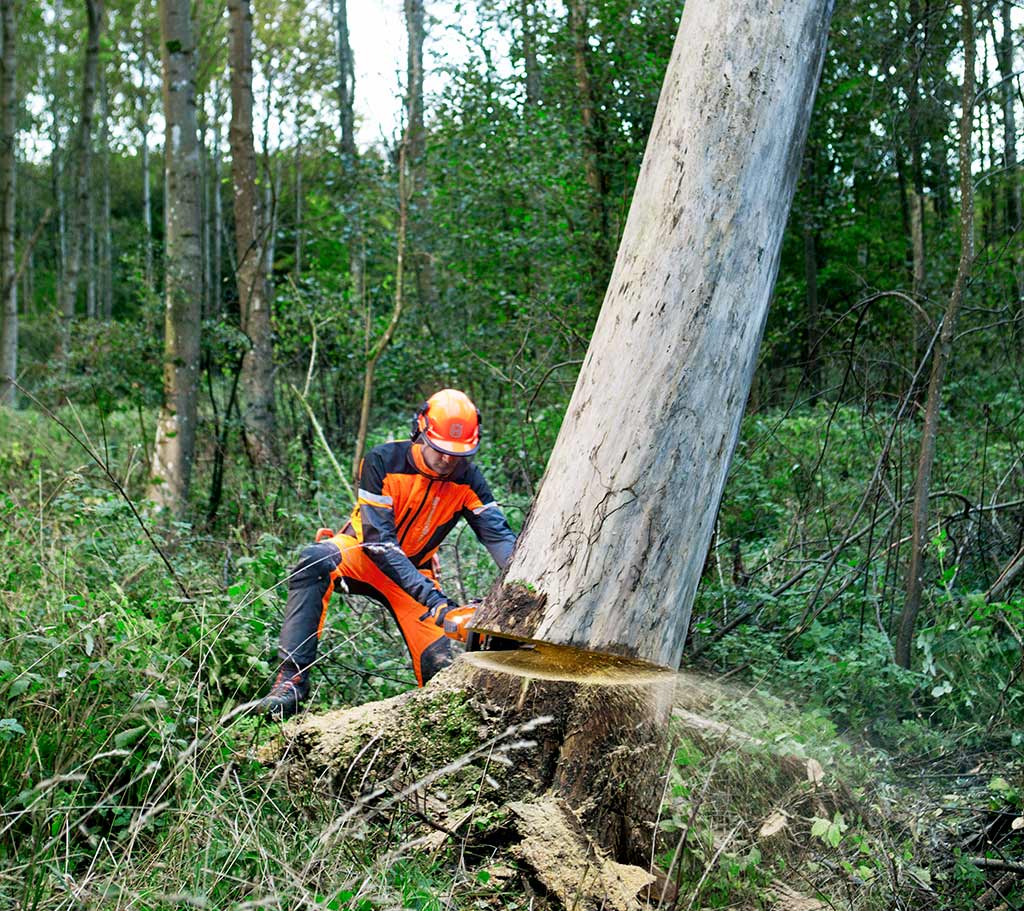
• Notch Cut: Start by cutting a notch on the side where you want the tree to fall. The notch should be about 25% of the tree’s diameter.
• Felling Cut: Move to the opposite side and saw through the trunk until the tree begins to tilt.
Step 4: Control the Fall
Use the ropes to guide the tree’s fall, ensuring it lands safely in the intended direction.
Step 5: Cleanup
Remove Branches and Trunk Sections: Cut the tree into manageable pieces for disposal.
• Grind the Stump: This prevents regrowth and keeps your yard tidy.
• Hiring Professionals: What to Know

The Benefits of Certified Arborists
Certified arborists bring expertise and specialized tools to the table. They can:
Assess the risks.
• Manage trees in tight or hazardous locations.
• Safely dispose of debris.
• Cost Factors to Consider
The cost of larger trees tends to be higher because they require more labor and specialized equipment for handling and planting.
Location: Trees near power lines or structures may incur additional fees.
Emergency Services: Urgent removal after storms typically costs more.
How to Prevent Future Dead Trees
Maintain Tree Health
• Regular Pruning: Remove dead or weak branches to promote growth.
• Proper Watering: Avoid overwatering or underwatering, as both can stress trees.
• Fertilization: Use organic compost or fertilizers to enrich the soil.
Choose the Right Trees
Select species that thrive in your region’s climate and soil conditions. Native species are often hardier and more disease-resistant.
Common Mistakes to Avoid
Skipping Safety Measures
Failing to wear protective gear or underestimating the danger can lead to severe accidents.
Improper Tree Cutting Techniques
Cutting without planning or using incorrect angles can cause the tree to fall unpredictably.
Ignoring Nearby Hazards
Always account for power lines, fences, and other structures before beginning removal.
Conclusion
Dead tree removal is an essential part of maintaining a safe and attractive property. Whether you take on the task yourself or hire professionals, understanding the process is key to avoiding hazards and ensuring a successful outcome. By taking proactive steps to maintain tree health, you can prevent future issues and keep your yard vibrant and secure.

